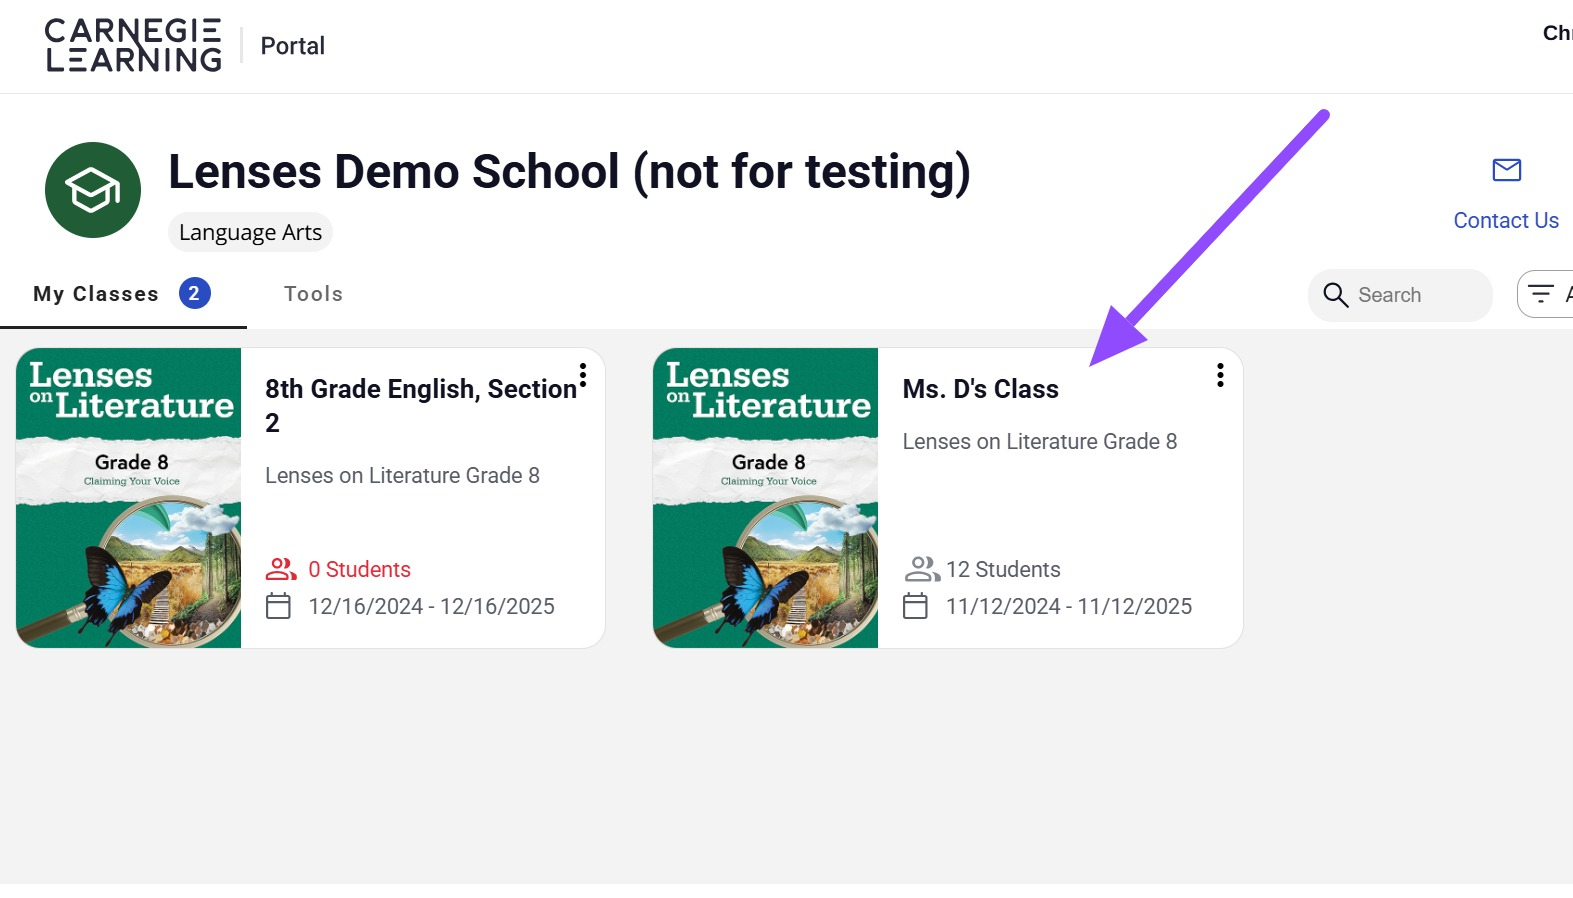
To add or remove a student, log into the CLC and go to the relevant class.
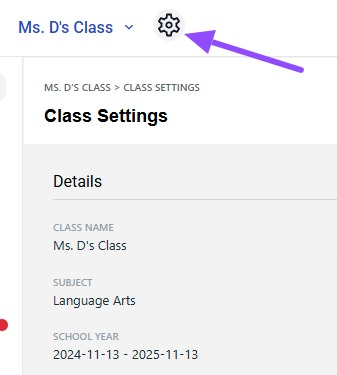
Click on the settings wheel to the right of the class name. This will bring up the class list.
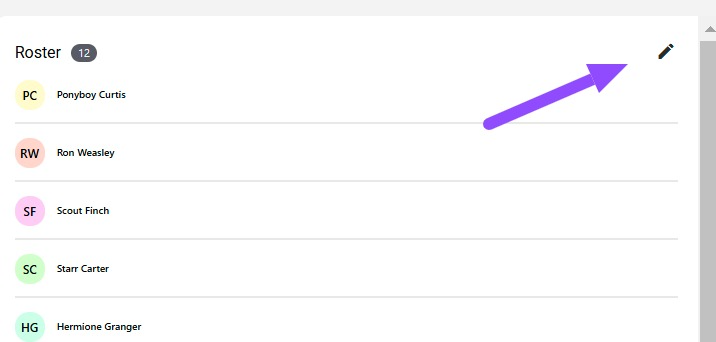
You’ll see a small pencil in the top right corner of the class list. Click this to edit the class roster.
Once you click the edit function, you can add or remove a student from the class.
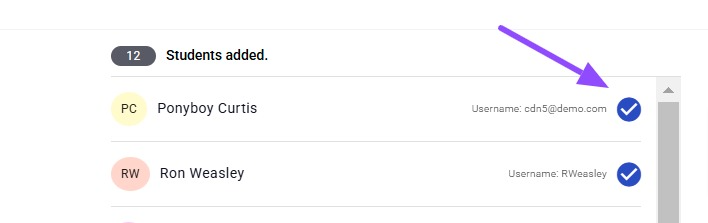
To remove a student, simply click on the blue check mark next to their name. Then click the save button.
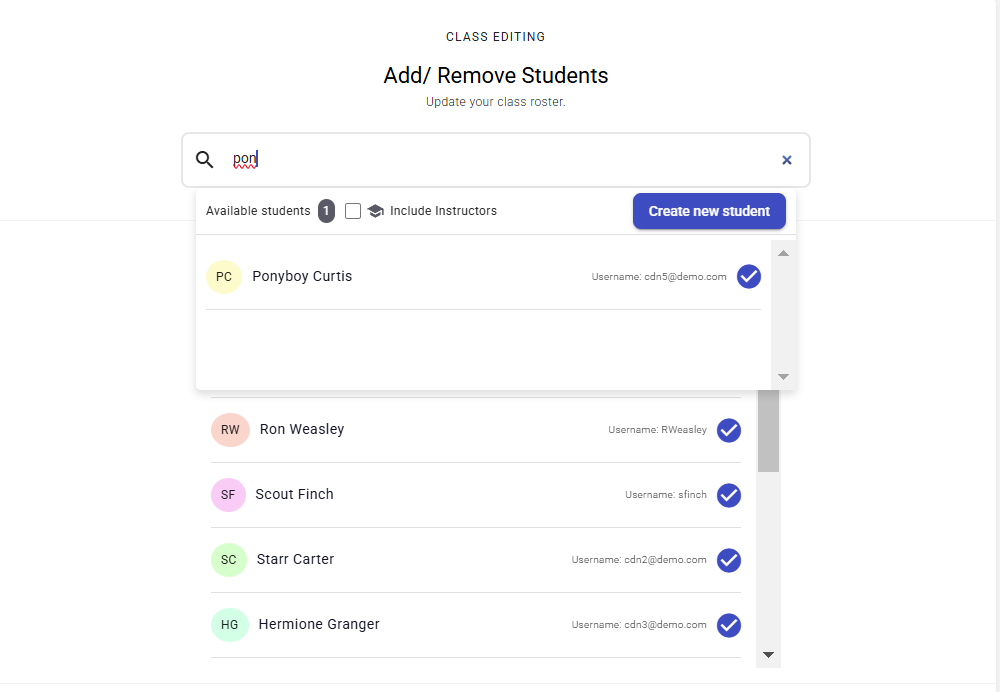
To add a student in a roster integrated environment, start typing the student’s name. Their information should appear below the search window. Click the plus sign to add them to the class and then click save at the bottom of the screen. Please note that if the student has not officially been scheduled into the class by the central system, they will be removed in the nightly sync.
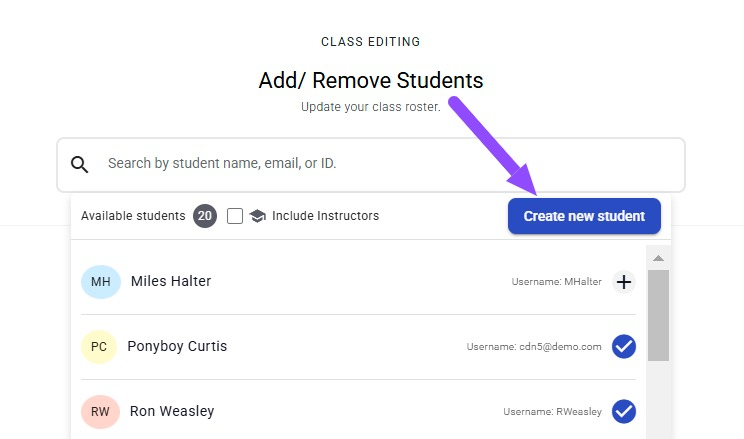
If you are not in a roster integrated environment you can add the student from scratch. Click the blue Create new student button.
Then type in the student’s information and hit submit.
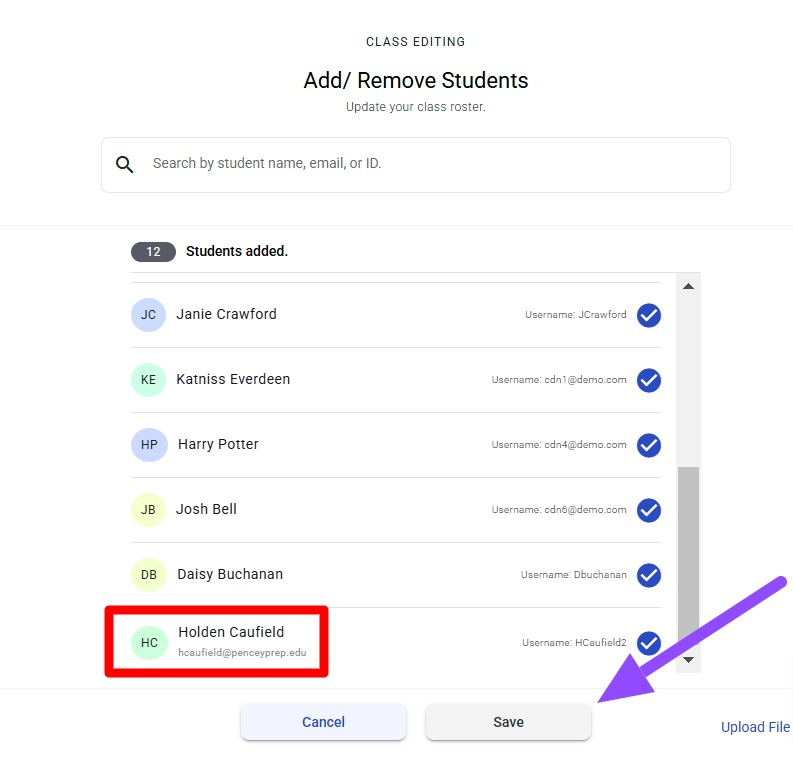
The student’s name should appear at the bottom of the class list. Click save to permanently save the change.