After logging in as an instructor, you'll land on the Tools Page.
Click on the Clear Learning Center to access the Class Management Tool (CMT) to begin setting up your class.

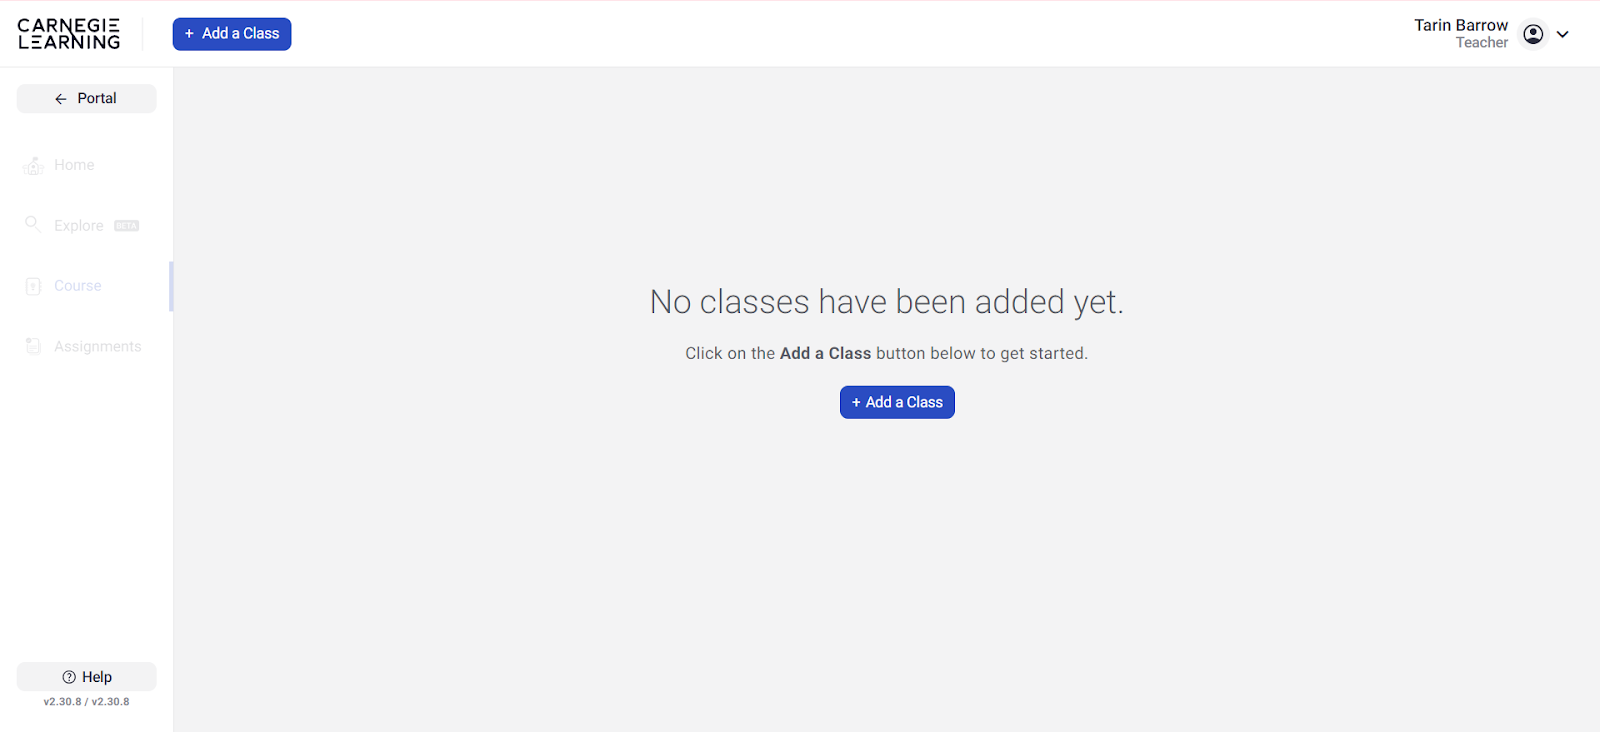
Start by adding a new class within the Class Management Tool. Click + Add a Class.
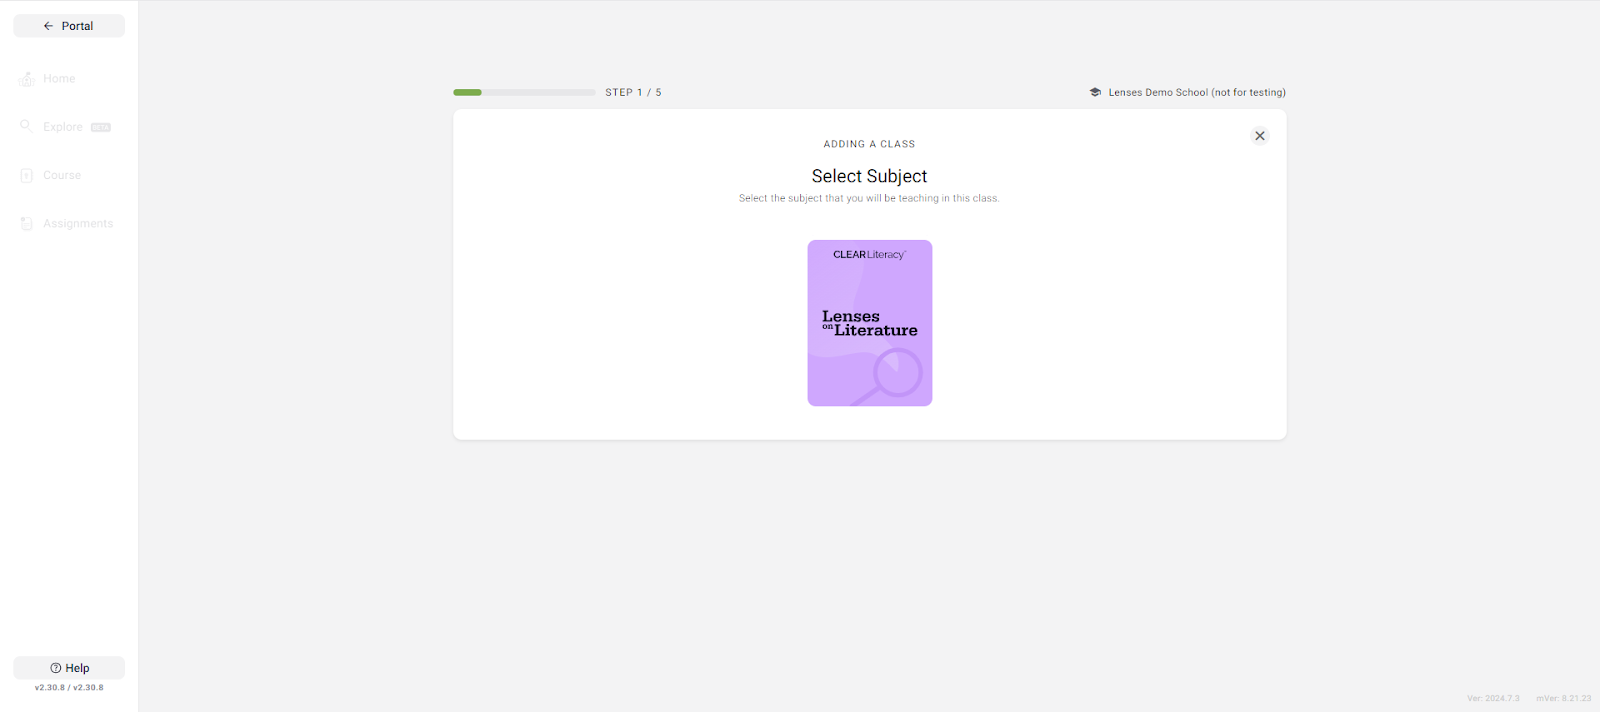
Select Subject by clicking on the tile.
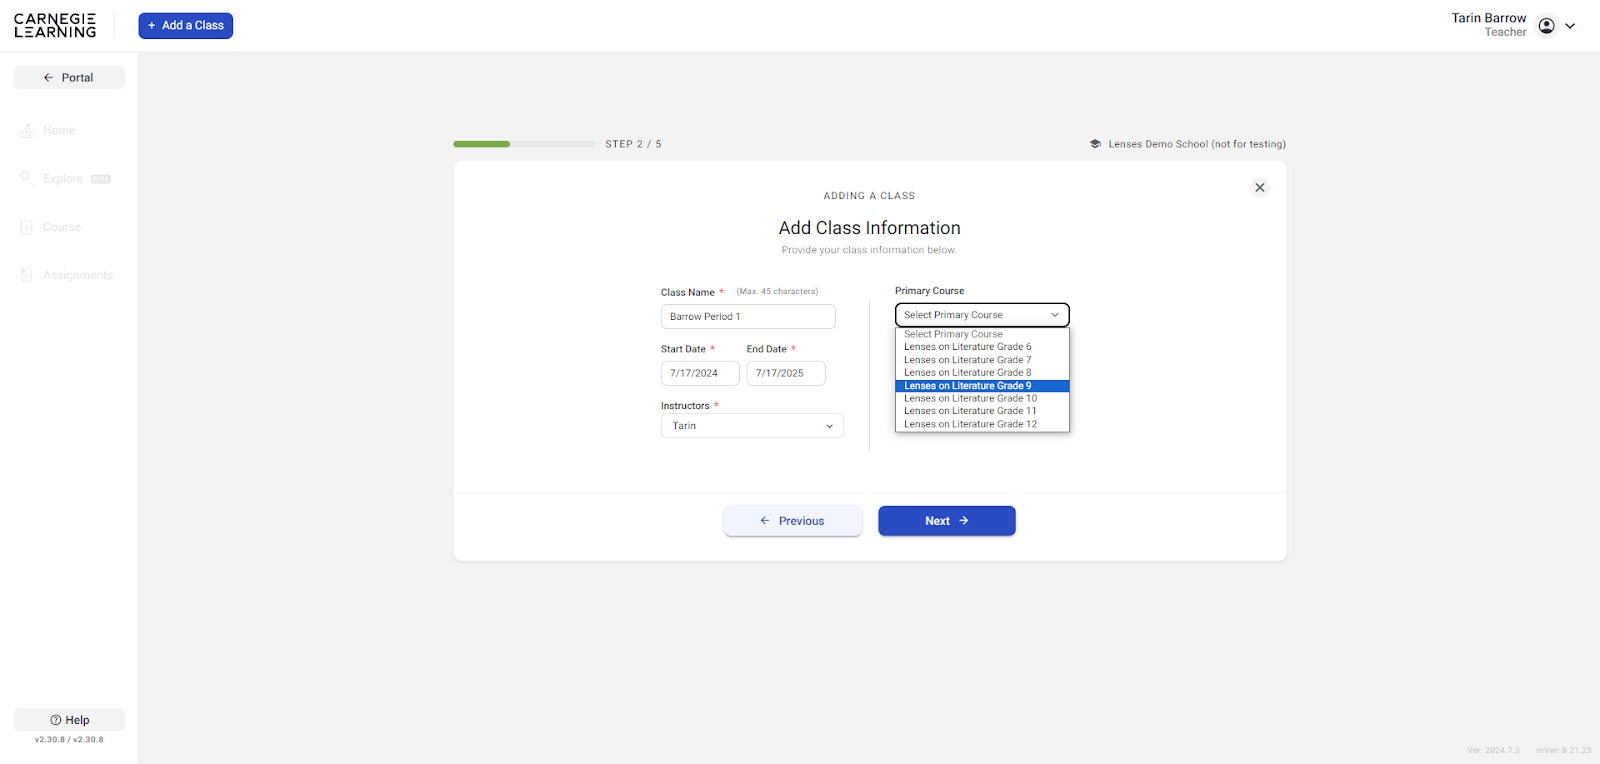
Name your Class; indicate the Start and End Date; and select the Instructor.
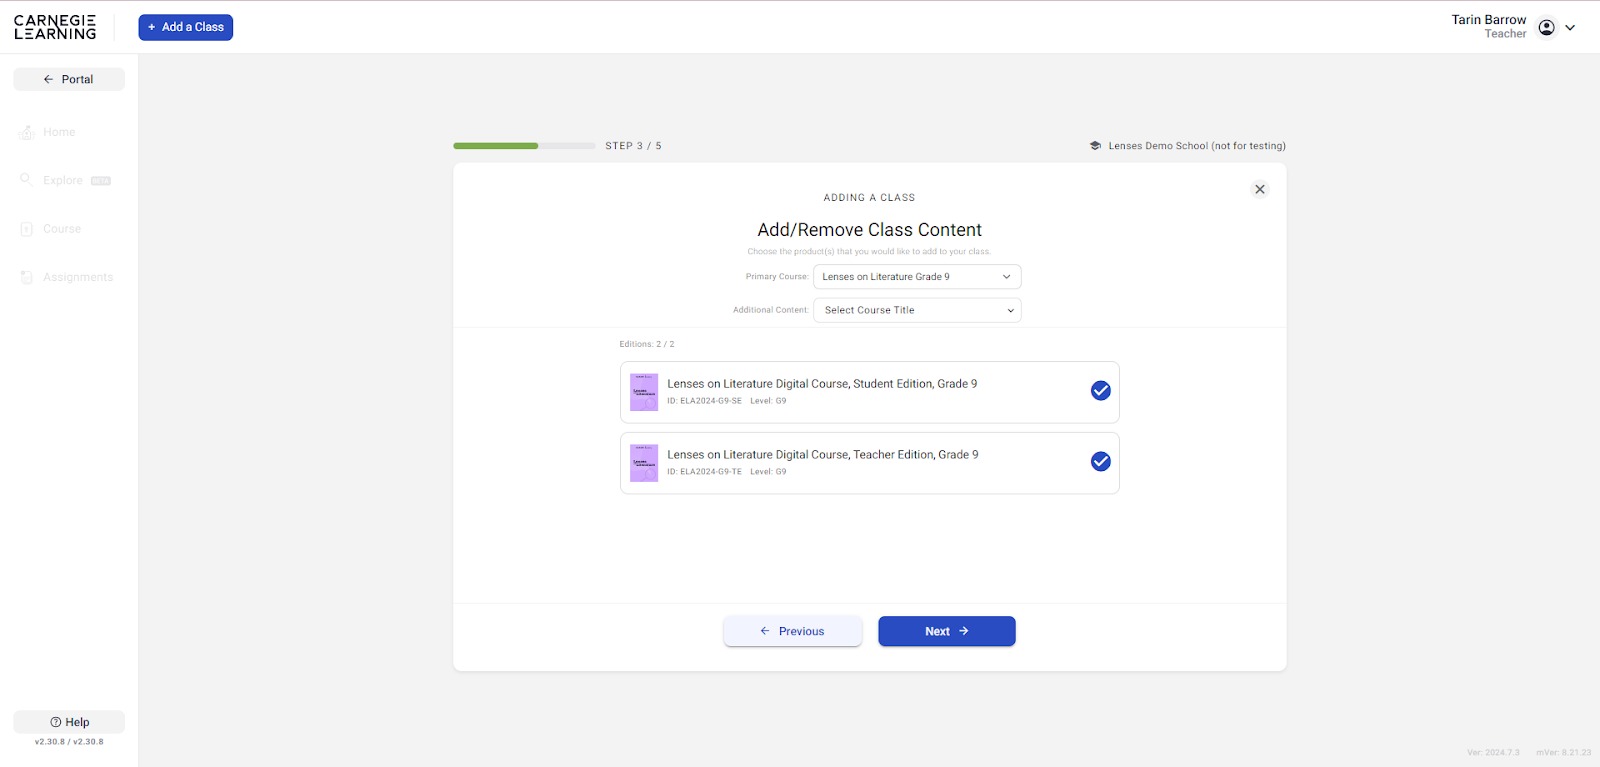
Select the Primary Course from the drop-down.
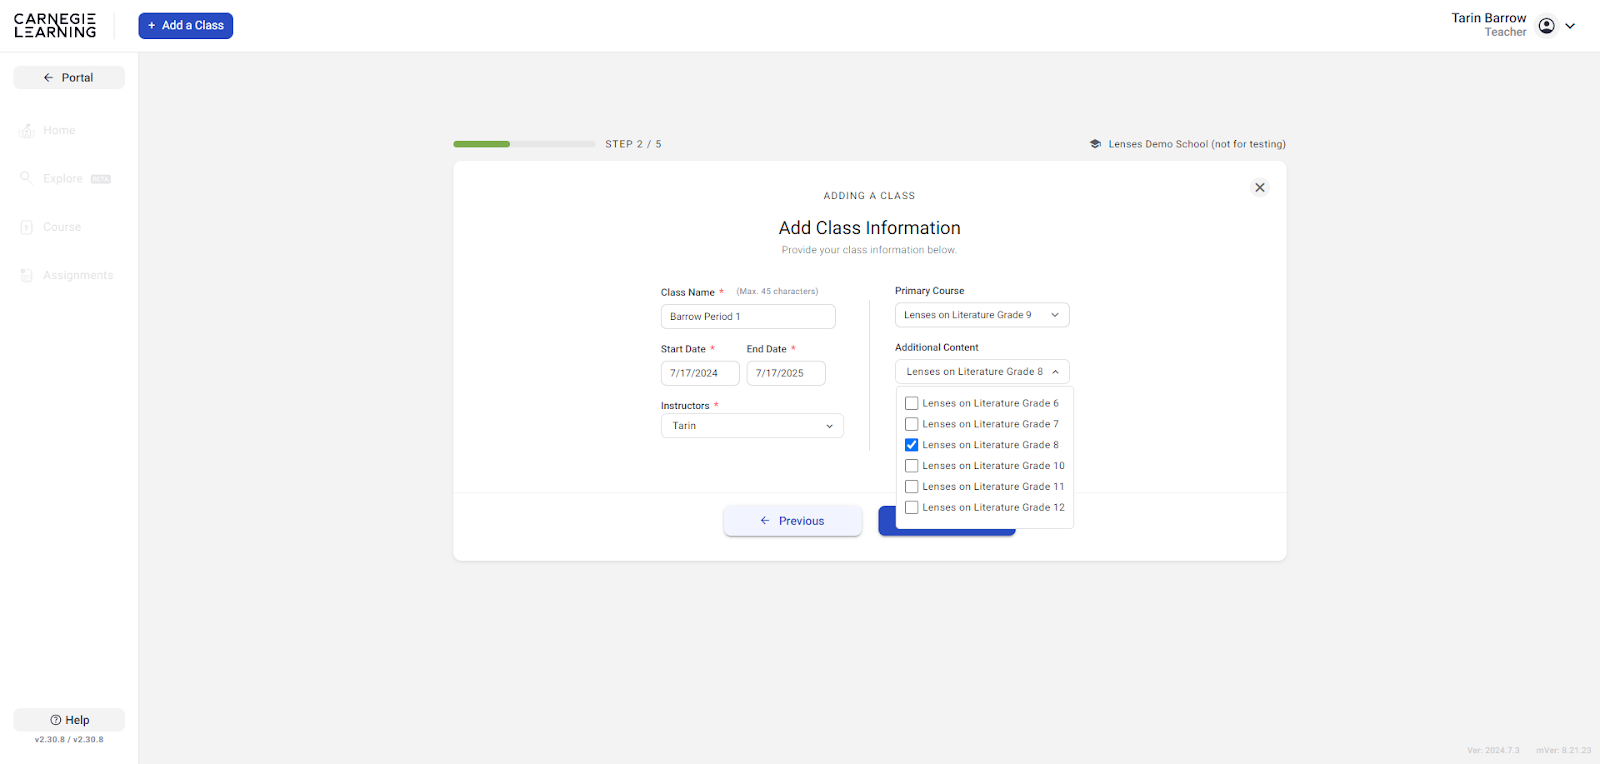
(Optional) Select Additional Content. Proceed by clicking 'Next'.
The licensed products will be automatically selected.
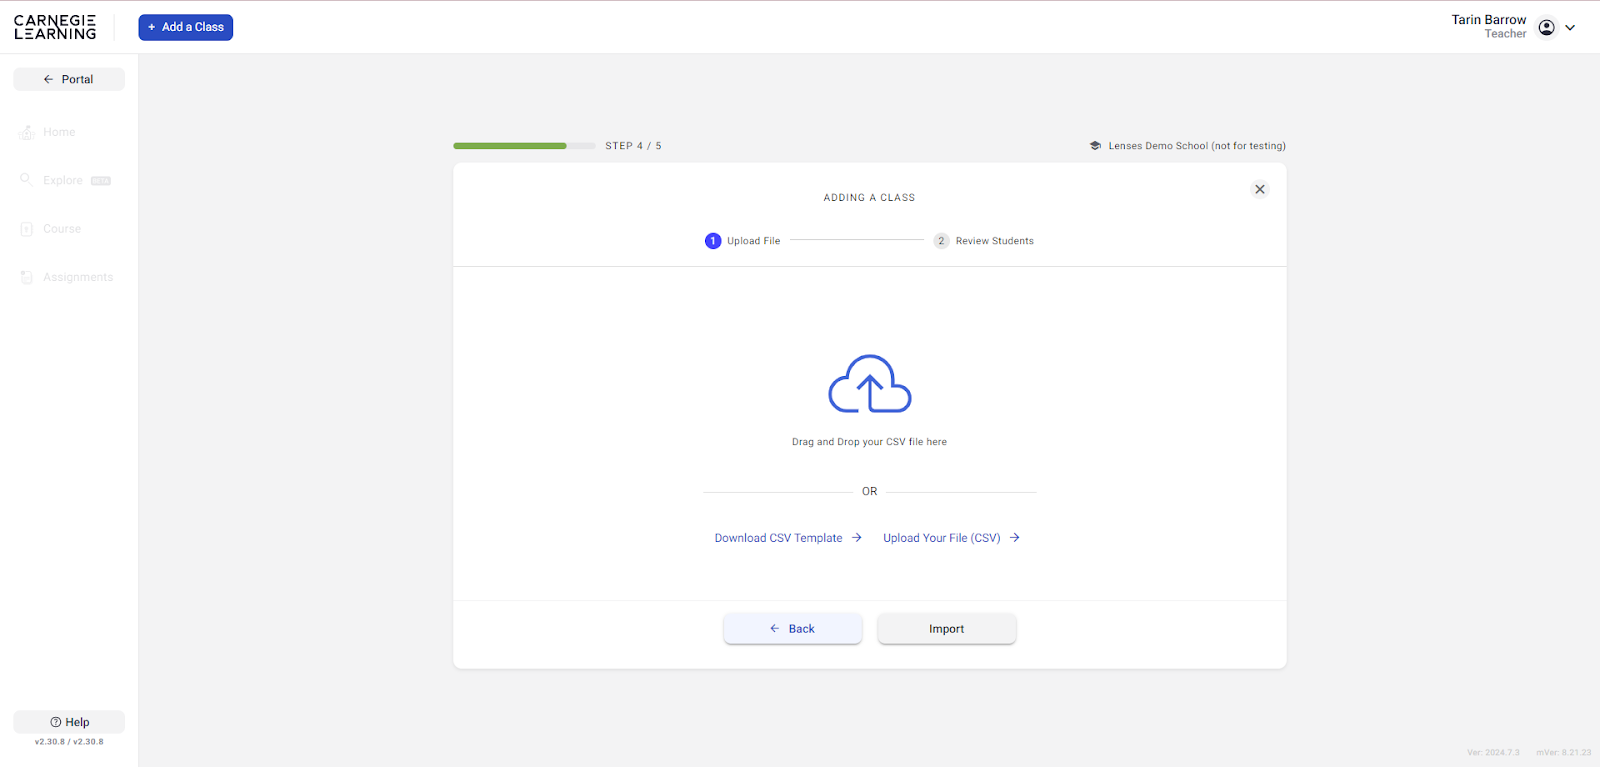
To add students, download the CSV template provided. Fill in student details, including first name, last name, email, and username. Upload the completed CSV file by dragging and dropping it into the designated area and click 'Import'.
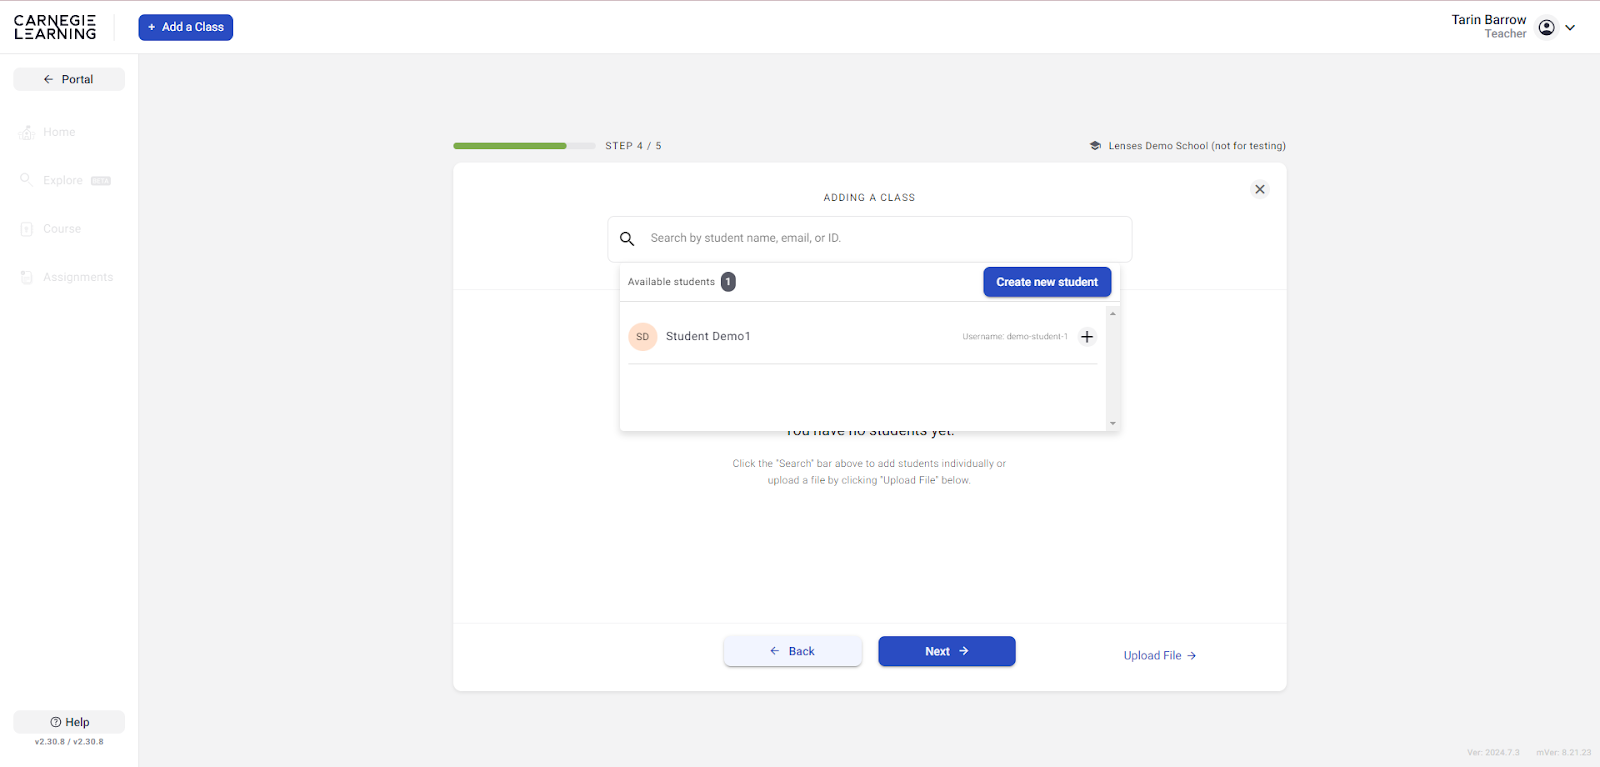
Select them from a list provided by your school's roster.
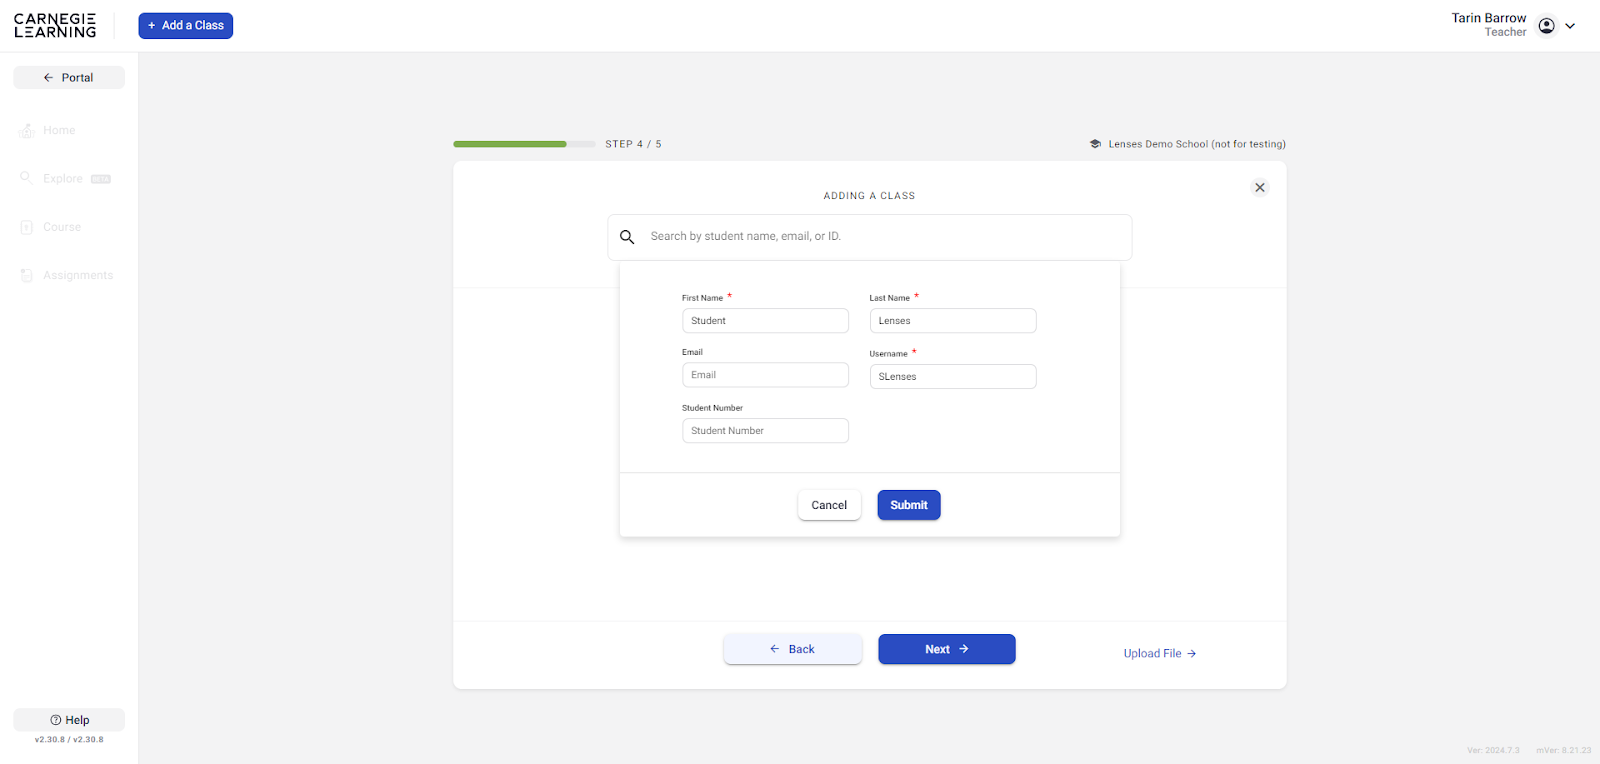
Alternatively, you can add students manually by selecting Create a new student.
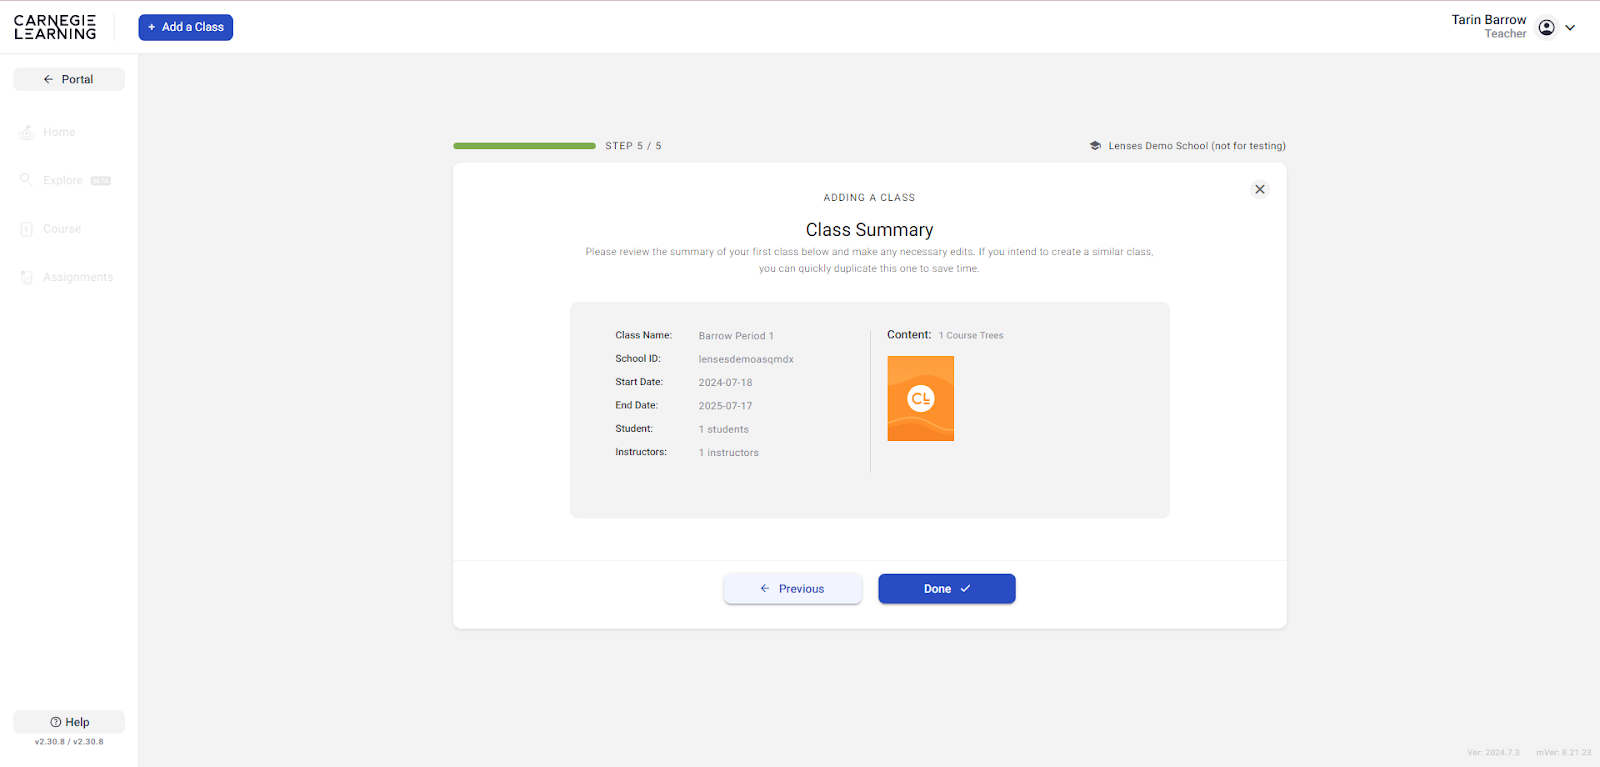
Review the details of your class setup. Ensure all necessary materials and students are added correctly.
Click 'Done' to finalize your class setup within Clear Learning Center.
You have successfully set up your Lenses on Literature class in the CLC.