This page provides step-by-step instructions to help you successfully set up your roster-integrated classes and ensure your students have access to the appropriate MATHia content.
Follow the guidance below to get started with a smooth and efficient setup process.

2. Select Teacher’s Toolkit.

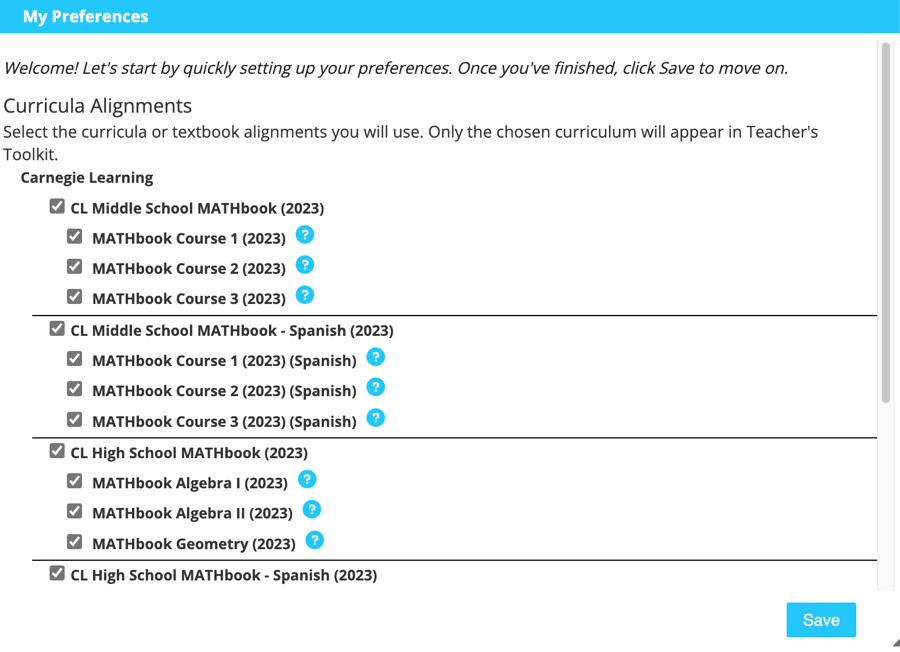
3. If it’s your first-time launching Teacher’s Toolkit this school year, you’ll be asked to choose the MATHia content you wish to use. The content available may be different than what is shown here.
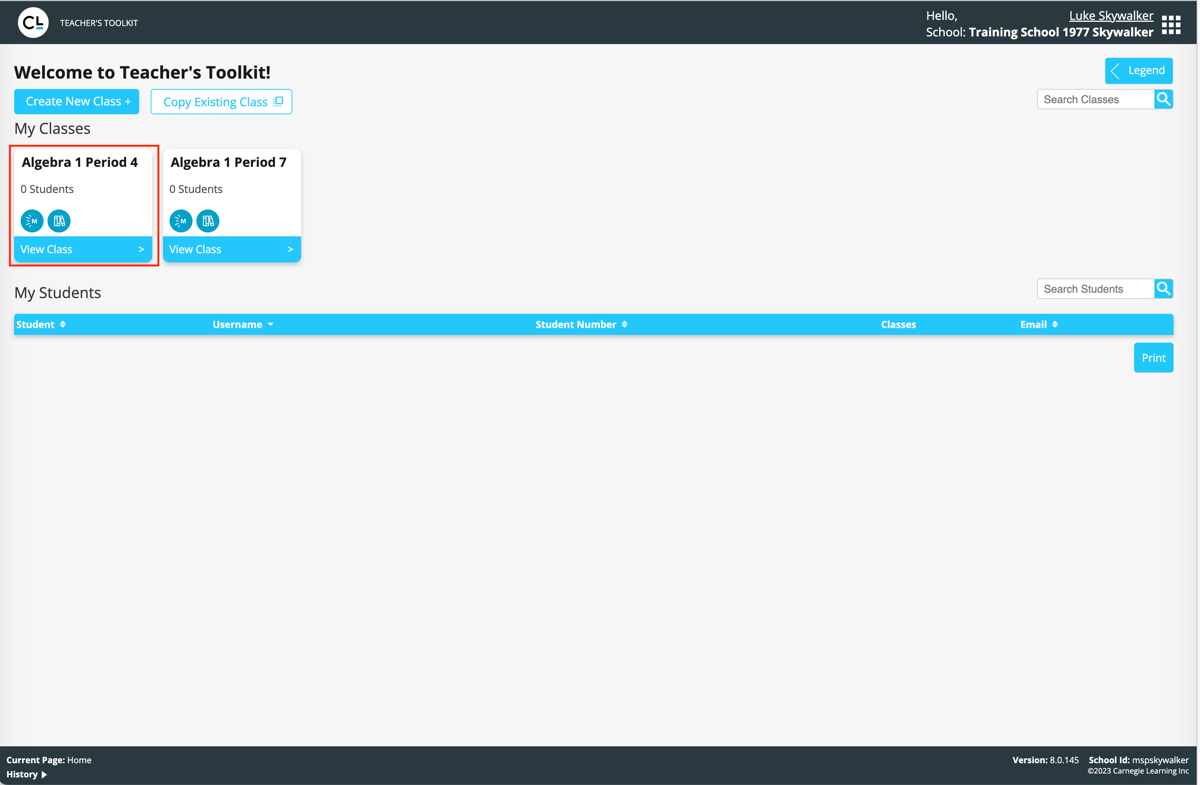
4. Select a class under My Classes in the Toolkit Home Page by clicking on it.
5. Click the Overview tab, then click the Edit button.
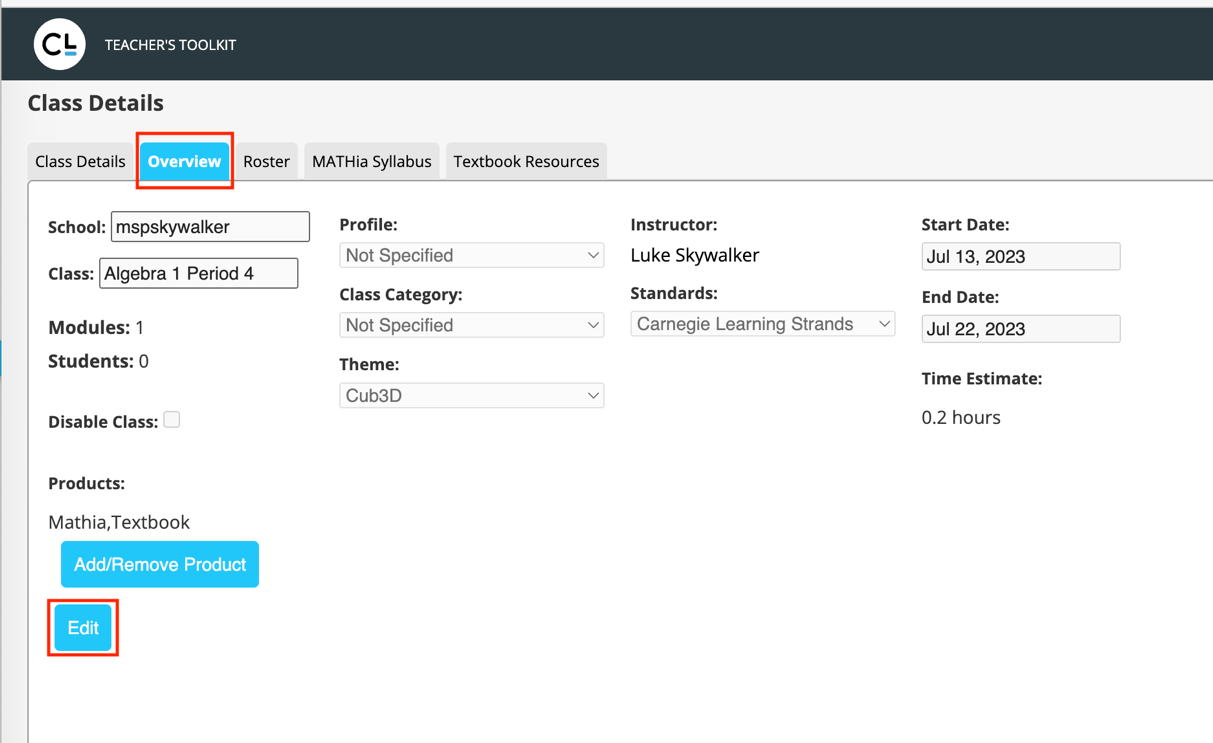
6. Enter the correct Start and End Dates. Change the Standards if necessary, and enter a Profile and Class Category if desired. If you wish, you can also change the Class Name. This will not affect the information coming from the roster integration source. Click Save when done.

7. Click on the MATHia Syllabus tab and select the Edit button to assign MATHia content.

8. Select the modules you want to add to the class by clicking Edit Group and Filter by course.
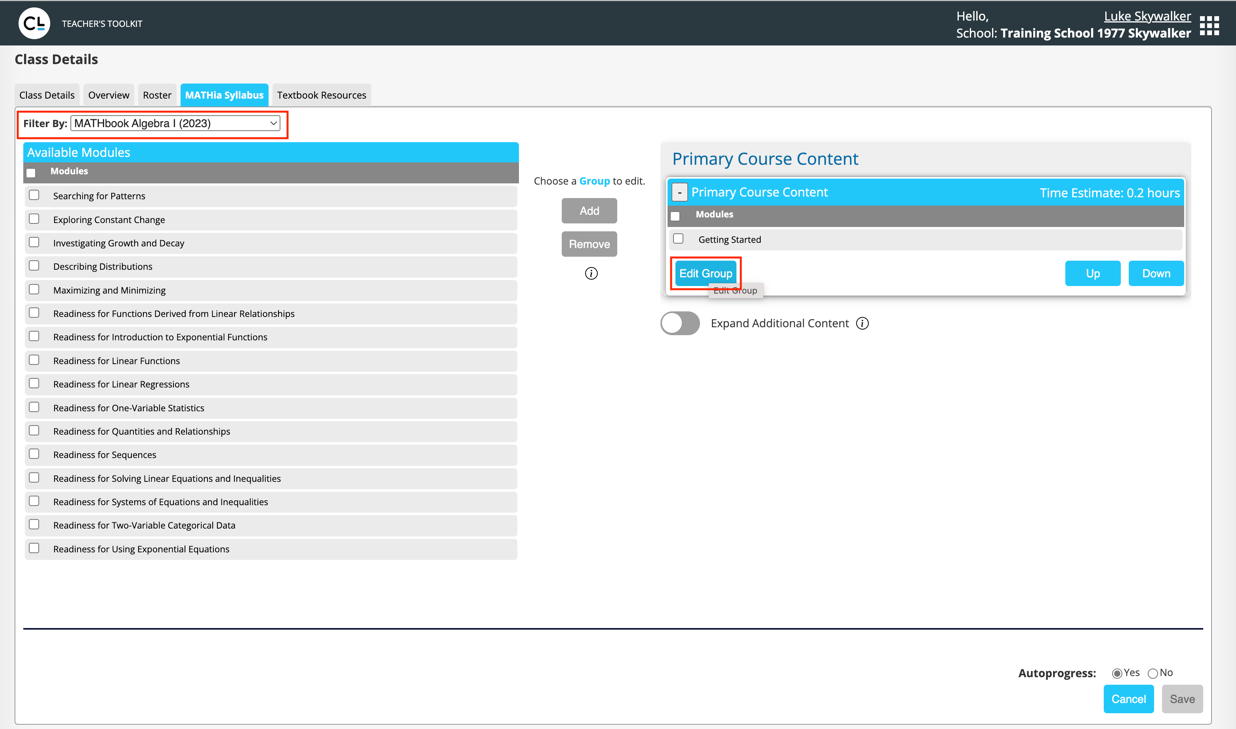
9. Then select the modules you want to add as Primary Course Content and click Add.

10. Click Save once you’ve selected all of the modules you wish to add.

11. Click on the Clear Learning Center tab and select the Edit button to assign textbook content.

12. Select the Textbook Resources you want to add to the class as well as MATHstream (if available) by clicking on the box(es), and then Save. Repeat this process for your other classes.

13. You can copy MATHia content from one class to other classes that do not have content assigned. Select the class you wish to copy content to from the Teacher Toolkit Home page.

14. Click the MATHia Syllabus tab and then click Copy Syllabus from class.

15. Choose the class you wish to copy from. This will copy the modules from that class to the class you selected.
