Managing Dates for World Language Assignments in Clear Learning Center

When assigning, you have the ability to add due dates and set availability for each assignment. 


Set a Due Date


Add due dates to any assignment you wish. It is not required, and you may choose to leave the date as None.


 To assign a due date:

  1. Click anywhere in the due date field. 
  2. Select the date and time you expect the assignment to be completed. 
  3. Once a date is selected, the time will default to 11:59 pm. You can change this in the bottom left corner of the calendar.


Set an Available From Date


Assigning a date in the Available From field defines when students will be able to view the assignment. This date is required. If left empty, the date will default to “Now” (available as soon as you create the assignment). You can change the date and time to any time in the future to better control what your students are able to see. Click anywhere in the Available From field to display a calendar and change the date.


Set an Available Until Date


Pre-set a closing date for an assignment by clicking in the Available Until field. This date is not required. 


If you choose to assign a date in the Available Until field, assignments will be automatically moved to Closed and taken off the student’s agenda page after the date you’ve chosen. You will locate your closed assignments in the Inactive tab of your Assignments page. 


Student View


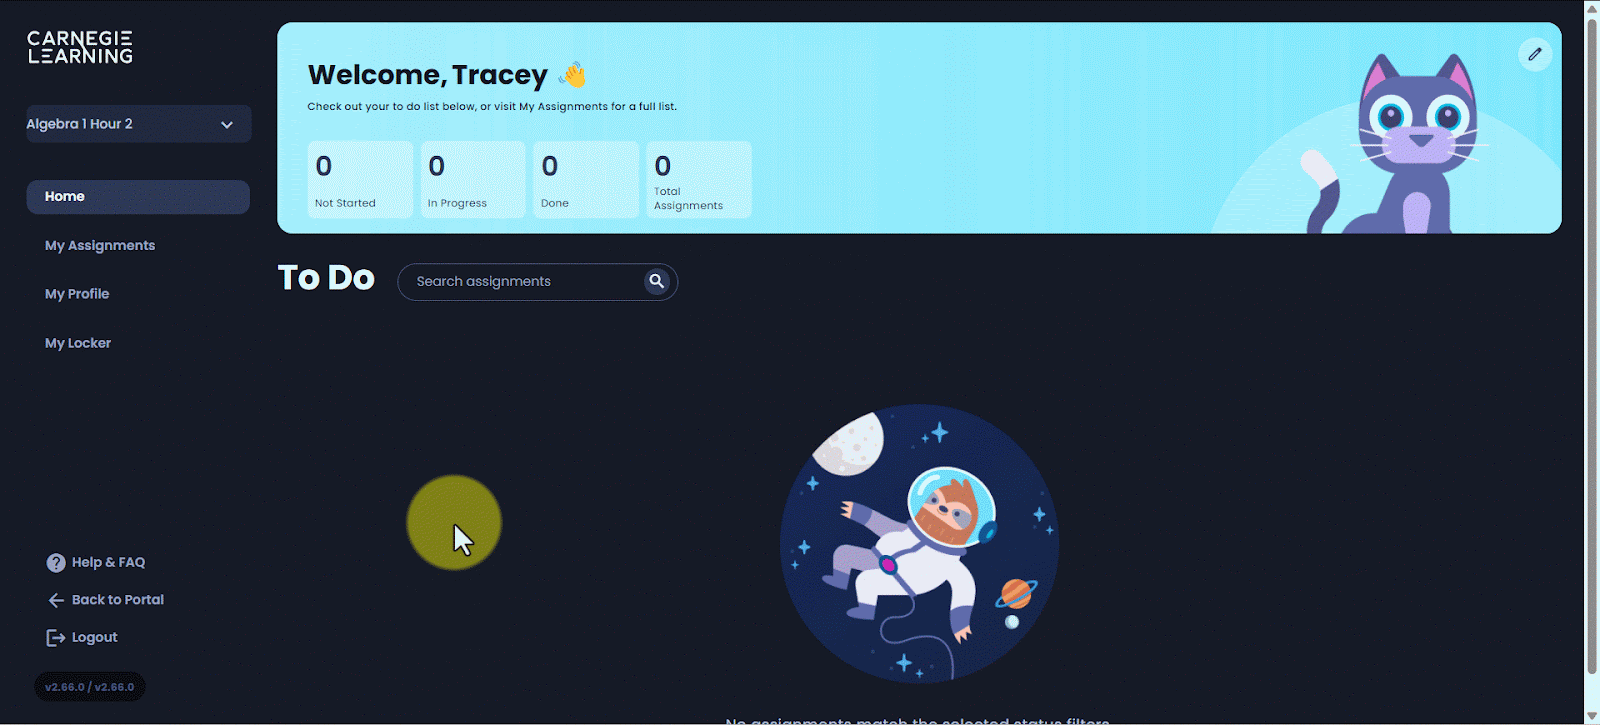
When a due date is assigned, students may view the assignment’s due date and availability by hovering over the tile. 


Once an assignment is no longer available, it will be moved to the student’s My Assignments page, where they may view Closed Assignments


Modify Dates on Existing Assignments


You may modify the dates on existing assignments within the Assignments tab.

  1. Navigate to the Assignments tab.
  2. Click on the three dots to the right of any assignment in your assignments list. If viewing the assignments in grid view, the three dots are located in the upper right corner of the assignment card.)
  3. Select Edit Dates.
  4. Adjust the dates on the assignment and click Save Changes.


You may also modify assignments from the Details view for the assignment. 

  1. Navigate to the Details View of the assignment by clicking on the name of the assignment. (If viewing your assignments in grid view, click View Details.)
  2. Click on the three dots in the upper right corner of the page.
  3. Select Edit Dates.
  4. Adjust the dates on the assignments and click Save Changes.


Personalize Assignment Dates for Students


You may personalize dates for individual students in the Assignments tab.

  1. Navigate to the Details View of the assignment by clicking on the name of the assignment. (If viewing your assignments in grid view, click View Details.)
  2. Click on the three dots in the upper right corner of the page.
  3. Select Reassign.


  1. Adjust the dates on the assignments, select the student(s) who should receive these new dates, and click Save Changes.