(currently just for districts using Edlink*)
Follow the steps below to log in and set up your Passport account for the new school year.
Launching Passport through Canvas
Navigate to your School’s Canvas login page and sign in.
Click into a class that utilizes Carnegie Learning courseware.
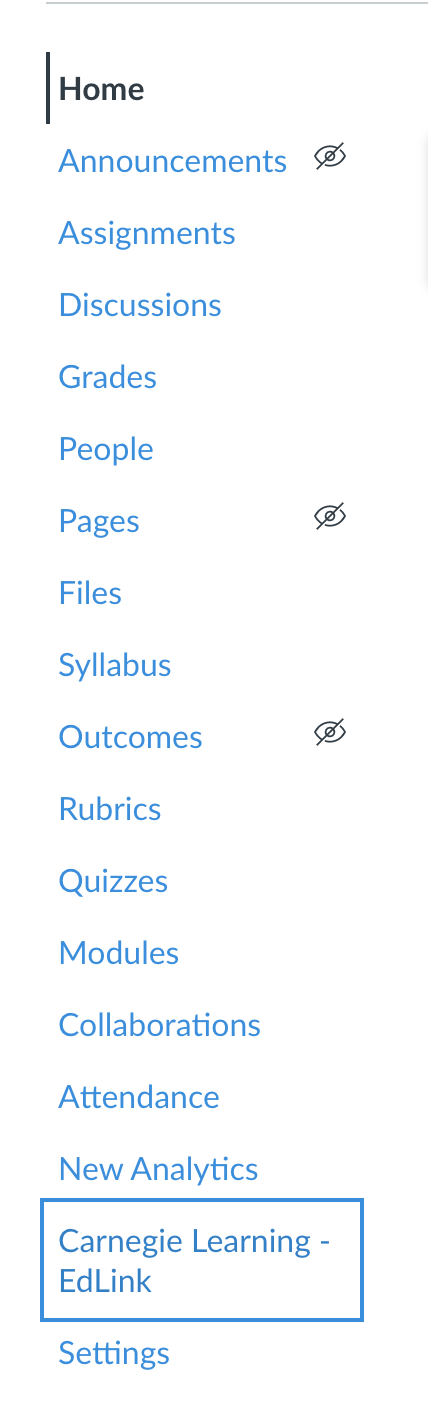
On the left sidebar of your Canvas class, click on the Carnegie Learning - EdLink app link. This will launch Passport in a new window. You may be asked to authorize with Canvas, if so click to Authorize the Carnegie Learning app.
Note: If you do not see the Carnegie Learning link in your Canvas sidebar, you may need to install the app if your district has not done this for you already. Navigate to Settings, make sure you are on the Apps tab, and search for Carnegie Learning - EdLink. Click to Install.
If you are not able to install this application, please contact our Customer Support team, as there may be some additional setup required at your school or District.
In the new window, you are now successfully logged into Passport.
2. Set up your classes by selecting program and level
Although your classes are created for you based on your schedule, you must complete class setup and assign a program for the class to have full functionality for both teachers and students.
The first time that a Teacher launches Passport, you are taken to a screen which will ask you to set the program and level for each of your classes.
If you teach all the same level, after setting up your first class in the list, toggle the option to “Apply same information to all classes”. This will apply the same program and level to every class in your class list. Click Save. You will be returned to My Classes.
If you teach several different levels, choose a program and level for each class in the list. Click the dropdown arrow for program, then level for each class.

All classes should show Complete on the right side to allow you to Save. Be sure to scroll all the way to the bottom and click Save. You will be returned to My Classes.
Note - your level selections may not save. If you are having trouble accessing your resources, or your students are, be sure to check each class individually to edit the level.
Just click the pencil next to a class, choose the level if it is not selected, then Update the class.
Select your Timezone and State and Change Passsword. Click Update User Settings.
You are ready to get started! Click on the Content Library to view assignable activities and resources.